
Pruning
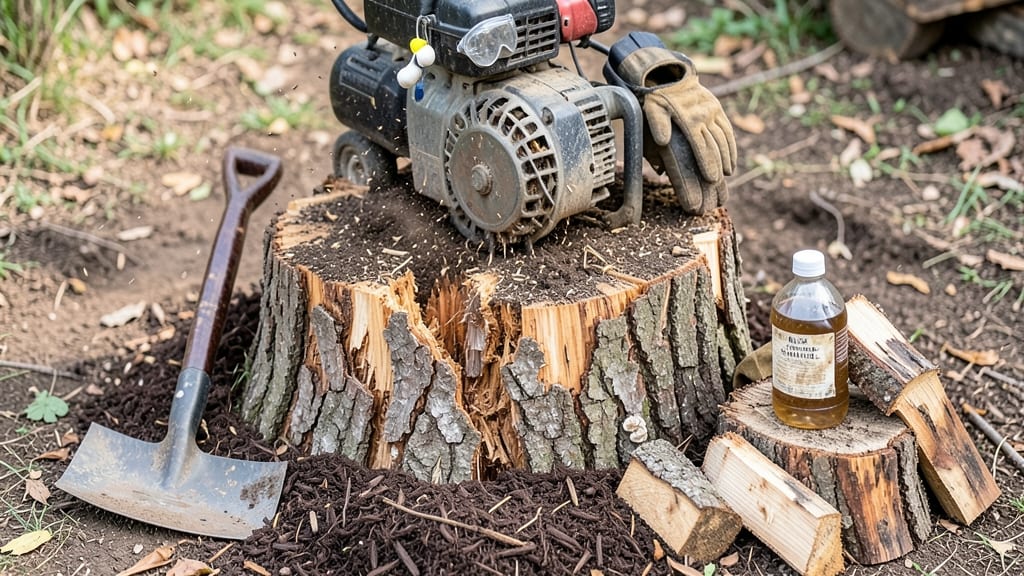
Tree stumps refuse to disappear on their own, but with the right approach, you can speed up nature's decay process in just a few seasons. ✨ I've turned stubborn stumps into nutrient-rich soil amendments using simple, chemical-free methods that won't harm your garden ecosystem.
The magic happens with a combination of moisture, oxygen, and microbial activity. You'll need basic tools—a drill, some salt or decay accelerant, and a little patience. Most stumps break down completely within 12-24 months using this method, leaving you with a flat area ready for new plantings.
What you end up with is a transformed garden bed—no more tripping hazards, and the decomposed stump becomes natural compost. The process is surprisingly simple once you know the right techniques, and it saves you the cost (and noise) of professional stump grinding.
Works for small to medium stumps in yards, garden beds, or even patios. Here's how to make it happen without chemicals or heavy machinery.
📚 In This Guide
- What you need
- Instructions
- Tips and common mistakes
- Wrapping up and next steps
What you need
- ● Safety gear: Gloves (heavy-duty, cut-resistant) – 1 pair
- ● Safety goggles – 1 pair
- ● Ear protection (if using power tools) – 1 pair
- ● Decay acceleration tools: Shovel (flat or spade) – 1
- ● Pickaxe or mattock – 1 (for stubborn roots)
- ● Pruning saw or chainsaw – 1 (for rough cuts)
- ● Hammer – 1 (for stakes or stakes)
- ○ Biodegradable additives (optional but helpful): Compost (aged, nitrogen-rich) – 5–10 gallons
- ● Epsom salt (magnesium sulfate) – 1–2 lbs
- ● Wood ash (from untreated wood) – 1–2 buckets
- ● Lime or garden lime – 1–2 lbs (speeds up decay)
- ● Stakes or wooden posts – 2–4 (for marking or securing)
- ● Plastic sheeting – 1 roll (to contain debris)
- ● Watering can or hose – 1 (for consistent moisture)
- ● Mulch (straw or wood chips) – 2–3 bags (to retain moisture)
- ○ Fungicide (optional) – 1 bottle (if stump is diseased)
How to decay tree stumps naturally for easy removal
Here's the straightforward method I rely on—no chemicals, just nature's own breakdown process.
🪴 Step 1: Clean and Expose the Stump Surface
Start by removing any remaining debris or soil from the stump's surface using a putty knife or stiff brush. This exposes the fresh wood to air and moisture, which accelerates decay. I like to use a wire brush to scour the edges—this roughens the surface and helps water penetrate deeper.
Cut a shallow cross pattern into the top of the stump (about 1 inch deep) using a handsaw or chainsaw. This creates openings for water and air to enter, speeding up the rotting process. The cuts should be 1-2 inches wide and spaced evenly around the stump's circumference. Avoid cutting too deep—you want to expose the wood without compromising the stump's structural integrity.
💧 Step 2: Apply Moisture and Organic Matter
Soak the stump thoroughly with water, making sure the cross cuts fill with moisture. I use a garden hose with a gentle spray nozzle to avoid eroding the wood. After soaking, cover the stump with a 4-6 inch layer of moistened peat moss, compost, or wood chips. This retains moisture and provides nutrients for decomposing organisms like fungi and bacteria.
Keep the covering damp by watering it every 3-5 days during dry spells. You'll notice the wood softening and darkening within 2-4 weeks—that's your signal the decay process is working. For faster results, I've found that adding a handful of cotton burr compost (if available) boosts microbial activity, but it's not strictly necessary for basic decay.
☀️ Step 3: Monitor and Maintain Conditions
Check the stump monthly to ensure the covering remains moist. If it dries out, simply add more water or organic matter. Over time, you'll see the wood crumble at the base—this is the stump breaking down naturally. In 6-12 months, depending on climate and stump size, it should be soft enough to dig out or pull with a stump grinder.
For larger stumps, I recommend repeating the process annually, adding fresh organic matter each time. The key is consistency—maintaining moisture and microbial activity. If you notice mold growth, don't worry; it's a normal part of the decay process and won't harm the surrounding soil or plants.
Tips & tricks for effective tree stump decay
These straightforward tricks will help you maximize the natural breakdown process—and avoid common pitfalls that slow things down.
Cutting Technique: When making those 1-inch deep cross cuts in Step 1, think of them as "breathing holes" for the stump. I use a handsaw for precision, but a chainsaw works too if you're careful. The key is consistency—space those 1-2 inch wide cuts about 4-6 inches apart around the circumference. Uneven cuts slow down moisture penetration, which is exactly what we're trying to avoid. For larger stumps, I've found adding a few vertical cuts down the sides helps too, but only if you're comfortable with power tools.
Moisture Management: The 3-5 day watering schedule in Step 2 is your most critical factor. I've learned this the hard way—letting the covering dry out completely can halt decay for weeks. Here's what I do: after the initial soaking, I set up a simple drip irrigation system using a soaker hose buried under the organic matter. This keeps moisture consistent without over-saturating. For dry climates, consider adding a thin layer of plastic sheeting under the organic matter to lock in moisture, then water through the top layer.
Organic Matter Selection: While the instructions mention peat moss, compost, or wood chips, I've had the best results with a mix of all three. The peat moss holds moisture exceptionally well, compost provides the microbial boost, and wood chips help maintain a stable temperature. Pro tip: if you're using yard waste compost, make sure it's well-aged—fresh compost can generate too much heat and actually inhibit decay. For faster results, I've experimented with adding a thin layer of manure (like well-rotted horse or cow manure) on top of the compost—it speeds up microbial activity significantly.
Pro Tips for Decay Tree Stumps
- These straightforward tricks will help you maximize the natural breakdown process—and avoid common pitfalls that slow things down.
- Cutting Technique: When making those 1-inch deep cross cuts in Step 1, think of them as "breathing holes" for the stump.
- Moisture Management: The 3-5 day watering schedule in Step 2 is your most critical factor.
Frequently asked questions
Got questions about letting nature handle your tree stumps? Here are some common concerns—and the answers to help you decide how to proceed.
How long does it take for a tree stump to decay naturally?
A stump can take anywhere from 3 to 10 years to fully decay, depending on factors like tree species, climate, and moisture levels. Softwoods (like pine) break down faster, while hardwoods (like oak) resist decay longer. Patience is key—nature’s timeline isn’t always speedy!
Is it safe to leave a tree stump in my yard?
Mostly yes, but there are risks. Decaying stumps can attract pests (like termites or carpenter ants) or become trip hazards. If the stump is near structures or driveways, consider removing it to prevent root regrowth or structural damage. Always weigh safety against convenience!
What’s the fastest way to speed up stump decay?
To accelerate decay, drill holes into the stump and fill them with water or a mix of water and compost. Cover the top with mulch or soil to retain moisture and encourage fungal growth. Avoid chemical treatments—they can harm the environment. Think of it as a DIY compost pile for wood!
Should I grind or remove the stump first?
Grinding is often the easiest option—it leaves behind wood chips that can be composted or used as mulch. If you prefer natural decay, grinding isn’t necessary, but it eliminates trip hazards and speeds up the process. For stubborn stumps, a stump grinder or professional removal might save time and effort.
Will decaying stumps attract pests or fungi?
Yes, decaying stumps can draw termites, fungi (like mushrooms), and even rodents. To minimize risks, keep the area clear of debris and monitor for signs of infestation. If pests become an issue, treat the stump with borax or vinegar—natural solutions that won’t harm your yard. Stay vigilant!
Wrapping up and next steps
Removing tree stumps doesn’t have to be a daunting task—with the right techniques, you can speed up natural decay and reclaim your yard with ease! Whether you choose grinding, burning, or natural decomposition, each method offers a practical solution tailored to your needs. 🌱
Now that you’re equipped with the know-how, roll up your sleeves and tackle that stump like a pro! Start small—pick a method, gather your tools, and watch your yard transform. Happy stump removal! 💪