
Planting
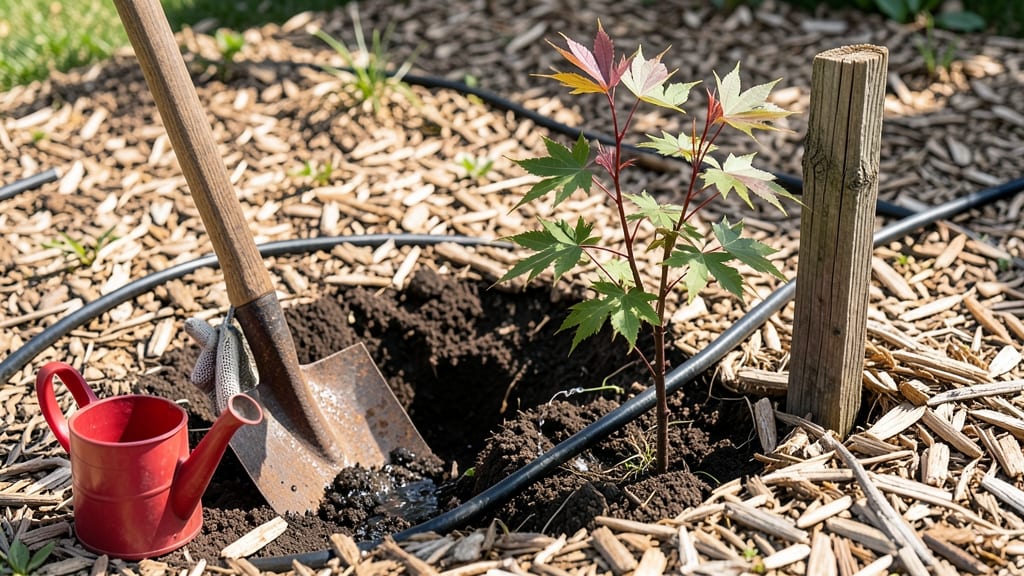
Sketching your tree planting layout first saves you from costly mistakes later. 🌳 I’ve replanted trees three times because I didn’t visualize the mature size—now I draw it out before digging.
A simple sketch helps you see how shadows, growth patterns, and spacing will shape your garden over years, not just the first planting season.
The key is proportions: mark mature tree widths (not just trunk sizes) and measure existing structures like patios or fences. Use graph paper or a free app to scale your yard to 1 inch = 10 feet—this keeps spacing accurate.
Trees need room to breathe, especially fast growers like willows or maples, which can spread 30+ feet wide.
By the end, you’ll have a layout that balances sun, shade, and visual flow—no more guessing when the roots hit your foundation. My favorite trick? Sketching in pencil first so I can adjust before committing to ink.
The best designs feel like a living painting, not just a list of plant tags.
This method works for any garden size, from urban backyards to rural acreage. Grab a pencil and start planning—your future garden will thank you.
📚 In This Guide
- What you need
- Instructions
- Tips and common mistakes
- Wrapping up and next steps
What you need
- ● Drawing Paper or Sketchbook: Size: 8.5" x 11" (standard) or larger (12" x 18" for detailed layouts)
- ● Type: Smooth or medium-textured paper (e.g., Strathmore 400 Series)
- ● Pencils: HB (medium) or 2B (darker) for sketching outlines
- ○ 4H (light) for faint guidelines (optional)
- ● Erasers: Kneaded eraser (for lifting graphite without smudging)
- ● Standard eraser (for clean-up)
- ● Ruler: 12" metal or plastic ruler for straight lines and measurements
- ○ Protractor or Set Square (optional but helpful): For precise angles (e.g., tree spacing or diagonal layouts)
- ● Fine-Liners or Markers: Black fine-liner (0.3mm–0.5mm) for final outlines
- ● Colored markers or watercolors (for shading or adding details)
- ● Reference Images: Photos of trees, gardens, or landscapes for inspiration.
- ● Graph Paper: For scaling and precise tree spacing.
- ● Lightbox or Tracing Paper: To overlay sketches or transfer designs.
- ● Colored Pencils: For adding depth and texture to your drawing.
- ● Stapler or Clips: To secure multiple sheets for large layouts.
Step-by-step guide for perfect tree planting layouts
Creating a tree planting drawing ensures your design looks stunning and functions beautifully.
📐 Step 1: Sketch Your Property and Existing Features
Grab a pencil and paper to draw your property's outline, including your home, driveway, sidewalks, and any existing trees or plants. I like to use a simple grid or scale (like 1 inch = 20 feet) to keep everything proportional. This helps visualize how trees will fit without crowding structures or each other.
Mark key features like patios, windows, and utility lines. These will dictate where trees can and can't go. For example, mature trees need at least 15-20 feet of clearance from foundations to avoid root damage. Sketching this first prevents costly mistakes later.
🌳 Step 2: Choose Tree Types and Group by Function
Decide which trees will serve specific purposes—shade trees near patios, flowering trees for visual interest, or evergreens for year-round privacy. I group them by height and spread: tall shade trees go in the back, medium-height accent trees in the middle, and low shrubs or ground covers in front.
Label each tree type on your drawing with its mature height and spread. For instance, a 25-foot-tall oak needs more space than a 10-foot-tall magnolia. This step ensures your design looks balanced and functional as the trees grow.
☀️ Step 3: Map Sunlight and Wind Patterns
Observe your yard's sunlight exposure throughout the day. South-facing areas get the most sun, while north sides stay shadier. I shade these zones on my drawing to match trees with their light needs—sun-loving oaks on the south side, shade-tolerant dogwoods on the north.
Note wind patterns too. Trees on windy sides need sturdier roots or staking. Add arrows to your sketch to show prevailing wind directions. This helps place trees where they’ll thrive without toppling or getting damaged.
📏 Step 4: Space Trees According to Mature Size
Measure the mature spread of each tree and mark its planting spot with a circle or oval on your drawing. For example, a 30-foot-wide oak needs at least 30 feet between it and the next large tree. Smaller trees can be closer—10-15 feet apart—but avoid overcrowding.
Use a ruler to maintain consistent spacing. I draw dotted lines between trees to visualize pathways or garden beds. This keeps your layout neat and ensures roots won’t compete for water and nutrients.
✏️ Step 5: Refine and Add Final Details
Step back and review your drawing. Does it look balanced? Are taller trees in the back, shorter ones in front? I adjust spacing or swap tree types if something feels off. Add hardscape elements like benches, pathways, or lights to see how they fit with the trees.
Once happy, transfer your design to graph paper or a digital tool for precision. Label each tree’s variety and planting location. This final step turns your sketch into a clear, actionable plan for planting day.
Tips & tricks for perfect tree planting layouts
A well-thought-out tree planting drawing saves you time, money, and headaches down the road. Here are the details that make all the difference.
Scale Matters: That 1-inch-to-20-feet scale in Step 1 isn't just arbitrary—it helps you visualize how trees will grow into their space. I've seen people skip this and end up with trees too close to driveways or windows. Use a ruler to measure everything precisely. If you're working with a large yard, consider using 1 inch = 40 feet to keep your drawing manageable.
Label Like a Pro: In Step 2, when you're labeling tree types, include not just the name but also the mature height and spread. I've used this drawing to plant my own yard, and having that information right there saved me from making costly mistakes. For example, labeling a red maple as "25' tall x 30' spread" tells you exactly where it belongs compared to a Japanese maple that only grows to 15 feet tall.
Sunlight and Wind Are Non-Negotiable: The sunlight mapping in Step 3 is where many people get creative but forget the basics. If you place a sun-loving tree in the shade, it'll struggle. I test my yard by observing where sunlight hits at different times of day—morning, noon, and evening. For windy areas, consider adding notes about staking needs or root ball size for stability. This step alone can mean the difference between a thriving tree and one that fails.
Digital Tools Can Be Your Friend: While the instructions focus on pencil and paper, you can also use free digital tools like SketchUp or even PowerPoint to create your layout. These tools let you easily adjust spacing and visualize your design in 3D. If you're not tech-savvy, even a simple graph paper layout will do the trick—just make sure to stick to that 1-inch scale!
Pro Tips for Plant A Tree Drawing
- A well-thought-out tree planting drawing saves you time, money, and headaches down the road. Here are the details tha...
- Scale Matters: That 1-inch-to-20-feet scale in Step 1 isn't just arbitrary—it helps you visualize how trees will grow...
- Label Like a Pro: In Step 2, when you're labeling tree types, include not just the name but also the mature height an...
Frequently asked questions
How do I decide which tree species to draw in my planting plan?
Start by considering your climate, soil type, and space. Research native trees for low maintenance or fruit-bearing trees for harvests. Sketch a few options side by side—label each with its mature height, spread, and sunlight needs. Pro tip: Use color-coding! (e.g., green for evergreens, yellow for deciduous) to visualize seasonal changes.
What scale should I use when drawing my tree planting layout?
For small gardens, 1/4" = 1 foot works well. Larger properties? Try 1/8" = 1 foot. Always include a scale legend in your drawing. Need help? Trace a grid over a real-life photo of your yard to match proportions accurately.
When is the best time to sketch my tree planting plan before actually planting?
Draw anytime—but late winter or early spring is ideal. This lets you account for frost lines, water drainage, and sunlight shifts. Hot tip: Overlay your sketch on a satellite map (like Google Earth) to spot hidden obstacles like utility lines before breaking ground.
Can I use a digital tool instead of hand-drawing my tree planting layout?
Apps like SketchUp, iScape, or even Canva let you drag-and-drop trees with precise spacing. For beginners, free tools like Garden Planner offer drag-and-drop templates. Bonus: Digital plans sync with planting apps for reminders (e.g., watering schedules).
What should I do if my hand-drawn layout looks messy or unclear?
No stress—even "messy" sketches serve as guides! Use arrows, dashed lines, or sticky notes to clarify paths, irrigation routes, or future additions. Pro move: Photograph your sketch, then edit it in a photo app (like Snapseed) to add bold outlines or labels. Need a fresh start? Try graph paper with a ruler for cleaner lines.
How do I account for tree growth when drawing spacing?
Check the mature width of each tree (e.g., a maple’s canopy can span 40–60 feet!). Draw minimum spacing circles around each tree—these should overlap only if you’re planting companion species (like understory shrubs). Rule of thumb: Divide mature width by 2 for small trees, by 3 for large ones.
Wrapping up and next steps
Drawing a tree planting layout is a rewarding way to visualize and plan your greenery—whether for a garden, park, or urban space! 🌳 By following our step-by-step guide, you’ve learned how to sketch realistic trees, balance aesthetics with practicality, and even troubleshoot common challenges.
Your creative vision can now transform into a thriving, harmonious outdoor space.
Ready to bring your design to life? Grab your tools, head outside, and plant that first seed—or sapling! Share your progress with fellow green thumbs or tag us in your planting journey. Every tree you plant is a step toward a healthier planet. Let’s grow together! 🌱